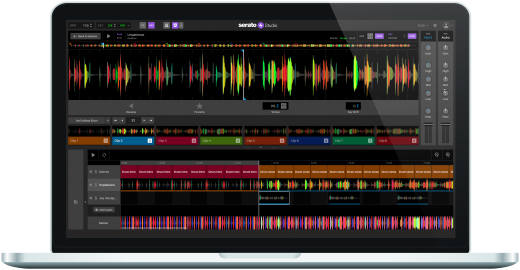
Today is a really exciting day for us here at Serato: our latest edition of Serato Studio - version 1.4 introduces Audio Tracks, making it our biggest update to the software yet.
For DJ-producers, this elevates Serato Studio to a new level - you can now easily make DJ edits for your sets. Whether it's a new intro, a mashup of two of your favorite tracks, or something else entirely. Audio Tracks will help you travel to new, unexplored places in your production and come back with something fresh to spin out at your next gig.
Why Audio Tracks are useful
Audio Tracks allow you to add and edit full audio clips across the Song View in Studio, which is helpful when using slices of audio longer than the Scene Player allows. You might use Audio Tracks to add an acapella to your beat, chop up a full track, or layer more subtle audio across your whole composition like white noise or textures.
Key Features
Audio Tracks introduces some amazing new features that you won’t have seen in Serato Studio before - here's a quick rundown.
Getting Started
There are two ways to load an Audio Track. You can either find a song in the Serato DJ tab, drag it over the Song View tab and drop it in the empty space. Or you can click the 'Add Audio' button in Song View, then go to your Library and drag a song onto the deck.
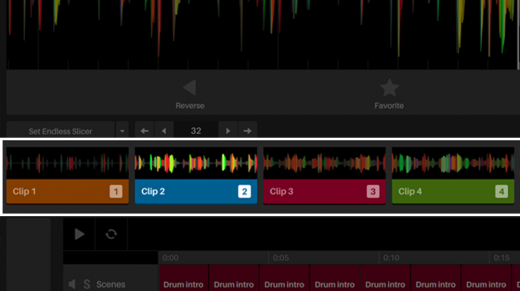
You'll then see eight Clip slots below your Audio Track, which work much like the Pads in the Sample Deck. Serato Studio will automatically create the first Clip by setting a Cue Point on the first downbeat of your audio. From there you can set your eight slots manually, or by using the Auto Set features explained below.
Auto Set - Endless Slicer and more
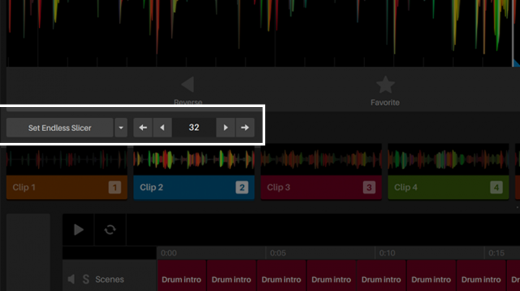
There are three different Auto Set features for using Cue Points in Audio Tracks. The first is Set Endless Slicer, which will set evenly spaced Cue Points over the audio region without end points. In the example pictured below, the eight cue points are set 32 beats or 8 bars a part from each other.
The second Autoset feature is Set Slicer, which will set evenly spaced cue points over the audio region with end points based on the beat value you set, ranging from 1-64 beats.
The third is Serato DJ, which will show the Cue Points you've set in Serato DJ. This can be useful for taking DJ routine ideas and implementing them into the music production workflow.
Clip Arrangement
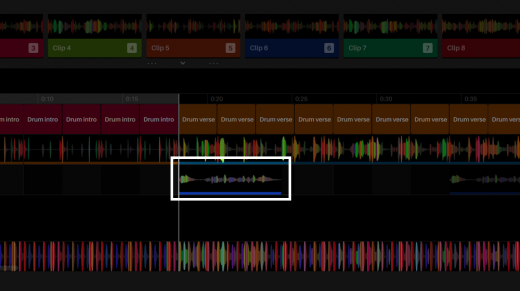
Once you’ve set your Cue Points, you can see and edit your audio clips alongside your Scene arrangement, helping you line up all the different elements to ensure they're on point. Just select a Clip and drag it onto the Song View timeline where you want it to play from. You can then reposition the Clip by dragging it left or right.
From there, you can resize the Clip using the right bracket that appears over the end of the file, or you can move the Cue Point in the Audio Track. For example, if you use Set Slicer to make Clips based on a particular beat value, you can then resize those clips to make them smaller.
To copy a clip, just select it and press Command + D. You can also drag the Clips off-grid, just like in the Sequencer.
Clip Parameters & FX
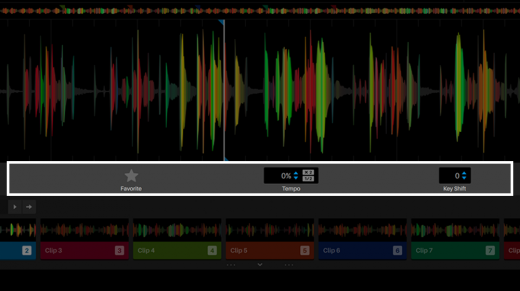
Each Clip has its own parameter settings and FX, so you can customize the Clip to your liking. Parameters include Reverse, Favorite, Tempo for time stretching, Key Shift, Gain, EQ, Filter, and Volume adjustment.
You can also turn on the FX Panel tab in the top left section of the Audio, which will give you three FX slots per Clip. Built in FXs like delays, echos, filters, EQs, compressors and others can be used in any of the FX slots. Or use your own third party VSTs to your liking.
Beat Grids
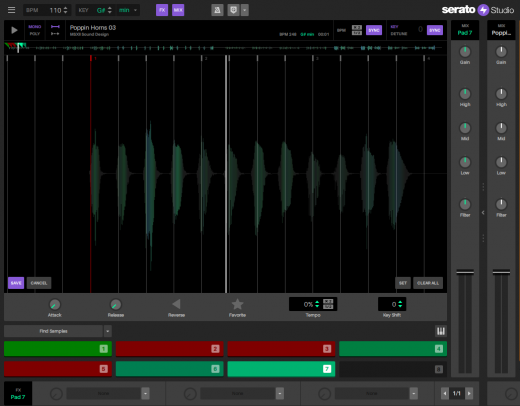
Beat Grids determine the BPM and timing of the audio you’re using, which is useful for keeping Audio Samples in Sync with your project even if the audio is unquantized.
When you load an audio file in either a Sample Deck or Audio Deck, you’ll notice a series of faint vertical markers throughout your waveform - these are Beatgrids. They’re used to mark the beat of your audio.
If your audio isn't syncing properly to your track, it's likely your Beat Grids will need to be edited, learn how to do this here.
We can’t wait to hear the beats, DJ edits and everything in between that you cook up in Serato Studio.

